Orange Coast · Fountain Valley
Sprinter collision
and camper van body repair,
in Fountain Valley.
Calls to (657) 208-2345 ring the shop’s main line, (714) 378-4855 · 10810 Talbert Avenue, Fountain Valley
Body and paint repair for the van you rely on. Tell us whether you use it for work, travel or a camper conversion so we can discuss the damage and the next step.
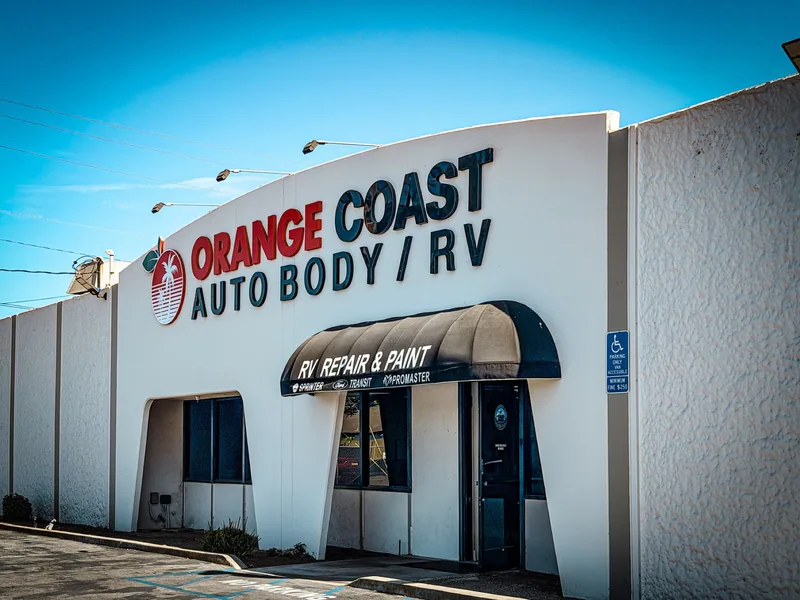
Orange Coast Auto Body / RV repairs Sprinter vans, cargo vans and camper conversions at 10810 Talbert Avenue in Fountain Valley — body, panel and paint, including vans that have been converted inside. We are an I-CAR Gold Class shop; the Fountain Valley location’s certificate is current through April 30, 2027.
What is different about a van
Why a Sprinter is not repaired like a car.
A van’s body dimensions, door openings and installed equipment can affect access to damaged areas. An inspection helps identify the repair scope and any additional work needed around a conversion.
The panels are big and unsupported
Large body panels need careful assessment for dents, creases and damage near seams or openings. The repair approach depends on the panel material, the location of the damage and the vehicle’s repair information.
Panel shape and paint finish are assessed together. Ask the shop how it plans to repair the affected area and check the finished surface.
The sliding door is a moving assembly, not a panel
It hangs on an upper track, a lower roller and a center hinge, and it has to travel and latch. A hit on the body side can bend the opening, the track, or the door itself. If the door now rubs, drags, needs a shove, or leaks air at highway speed, that is a fit-and-movement problem. Straightening and repainting the dent does not address the cause. The door, the hardware and the surrounding opening get evaluated together.
The rear doors carry their own hardware
Rear impacts on a Sprinter often sit low, under doors that look untouched — and then a door latches harder than it used to, or the gap is uneven top to bottom. Where a camera or parking sensor sits in the affected area, the repair extends past the paint. Scanning reads information out of the vehicle’s systems; calibration is a separate procedure performed when the manufacturer’s repair information calls for it. A bumper that looks clean is not evidence that the equipment behind it is working.
Height, length and roof
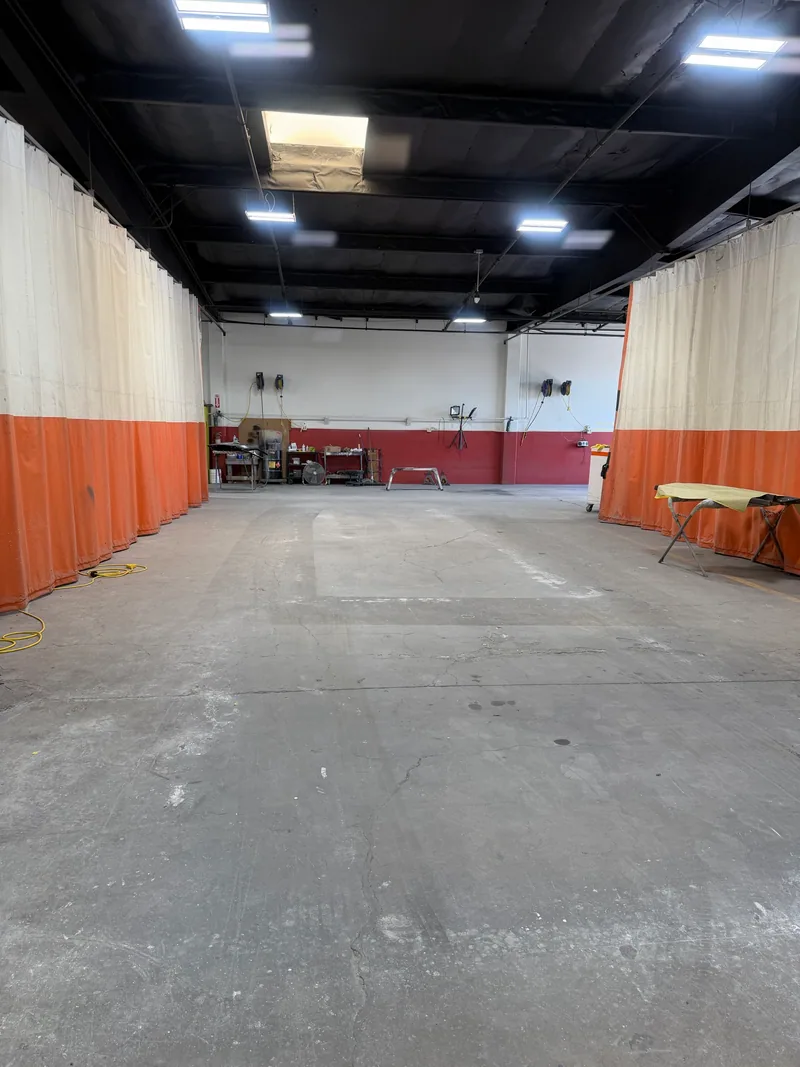
High-roof and extended-length vans need a bay and a paint booth that can physically take them, plus roofline clearance for anything mounted up top. Call with the model year, roof height and wheelbase before you drive over, and say what is mounted on the roof — a rack, a fan, solar, an awning — so the shop can confirm the van fits before you make the trip.
Bodywork & paint
Sprinter & camper van services.
Collision repair, camper bodywork, panel and paint at the Talbert Avenue shop — including sideswipes across a body side, rear door and rear corner damage, and repairs around a fitted conversion.
Sprinter collision repair
Body and paint repair after an accident, including damaged panels, bumpers and doors.
Camper van bodywork
Exterior repairs with attention to the camper interior, added windows and fitted equipment.
Paint & panel repair
Panel repairs and refinishing to match the existing bodywork and paint.
Roofline & door openings
Body repairs after a height strike or damage around a door, window or roof accessory.
The shop also takes smaller RVs, trailers and camper units, and camper conversions that are not Sprinters — Transit, ProMaster and other cargo vans. Large Class A motorhomes are outside this service.
Camper van bodywork
The build is part of the job.
A camper interior can affect access to the bodywork. Cabinets, insulation, wall panels and other fittings may need to be considered when the shop prepares the estimate. Discuss any removal or refitting with the shop before work begins.
Getting to the back of the damage can be a larger part of the job than the damage.
Conversions also add edges and holes that a factory van does not have: aftermarket windows, a roof fan, solar panels, an awning rail, an exterior shore-power inlet, a ladder, a roof rack. Every one of those is an attachment point and a sealing point near where somebody has to work.
What we ask of you before the inspection
- Say it is a conversion when you call. It changes the inspection before we start.
- Bring photos of the build, especially anything behind the damaged area, and anything you installed yourself.
- Say who built it. A professional upfitter, a previous owner, or you — it affects how the panel comes apart and goes back together.
- Tell us what you can remove yourself. Some owners would rather pull their own cabinetry than pay shop time for it. That is a fair conversation to have up front, not after.
If the van has a conversion, ask your insurer what your policy covers. Bring the conversion documentation you have, such as an upfitter invoice or equipment list, so the shop can identify what is fitted near the damage.
Repair guide
Sliding door damage after an impact.
If a sliding door starts rubbing or becomes difficult to close after an impact, mention it when you call. Our guide explains why the door and the surrounding body may both need inspection.
Read the repair guideRepair knowledge
Practical guides for van owners.
Find useful answers about paint repairs, camper conversions and arranging bodywork around a planned trip.
All repair guidesProcess
How a repair runs here.
Seven steps, in the order they actually happen — including the one nobody likes explaining.
Step 1
Call, and describe the van
Have the model year, roof height, wheelbase and conversion details ready. Mention anything that changed after the impact, including a door that rubs, a warning light or an uneven gap. These details help the shop prepare for the inspection.
Step 2
Inspection at the shop
The van is looked at in person. Bring any estimate you already have and any insurance paperwork, so it can be reviewed against what is actually on the vehicle. Bring photos of the build if it is a conversion.
Step 3
A written estimate
What is damaged, what the repair requires, and what is being replaced rather than repaired.
Step 4
Approval, then parts
Work is scheduled around parts availability and, where insurance is involved, approval.
Step 5
The estimate can change — here is why, honestly
Once damaged panels and trim come off, parts that were hidden during the first inspection become visible. Additional findings can change the parts, the labor and the procedures required.
Ask about additional findings. An estimate may change if disassembly reveals damage that was not visible initially. Confirm how revised work is documented and authorized.
Step 6
Bodywork, then paint
Bodywork and surface preparation come before refinishing. Ask the shop about the repair and paint scope, including adjacent areas that may need attention.
Step 7
Reassembly, checks, and pickup
Doors are checked for fit and movement, not just appearance. Anything still not right — a gap, a catch, the finish — is easier to look at with you and the van both at the shop, before you drive away.
Questions
What Sprinter and camper van owners actually ask.
If your question is not here, call the shop — it is a faster answer than a form.
Will my high-roof van fit?
Call with the model year, roof height and wheelbase before you drive over, and say what is mounted on the roof. The shop can confirm the van fits the bay and the paint booth before you make the trip.
Do I have to tear out my conversion?
Not automatically. It depends on where the damage is and what sits behind it. Sometimes the panel is accessible without disturbing the build; sometimes a section of the interior has to come out to do the repair properly. That gets identified at the inspection and discussed before anything is removed.
My sliding door started rubbing after I got hit. Why?
Because the impact may have affected the door, its track or hardware, or the shape of the opening. Rubbing tells you the fit or the movement is wrong; it does not tell you which single part failed. Repainting the dent will not stop the rubbing.
Does the insurance cover my build, or just the van?
Coverage depends on the policy and the claim. Ask your insurer to confirm coverage for the conversion and bring the relevant documentation to the inspection.
It is a Mercedes-Benz on the title but the badge says Freightliner.
Bring the VIN and model year when discussing a Dodge- or Freightliner-badged van. The shop can use those details to identify the appropriate vehicle and repair information.
I scraped it months ago and now there is rust at the crease.
Exposed metal and damaged seams should be assessed. Mention how long the damage has been present and whether you have noticed corrosion or water entry.
My roof fan, solar panel or awning is near the damage.
Say so when you call. Anything mounted through the roof or the body side is an attachment point and a sealing point, and it changes the work around the repair.
Can I get an estimate from photos?
Photos are useful for the first conversation. They do not replace an inspection — on a van, the things that matter most (door fit, movement, panel edges, what is behind the damage) are not reliably visible in a photo.
Do you work on camper vans that are not Sprinters?
Yes — Transit, ProMaster and other cargo-van conversions, plus smaller RVs and trailers. Large Class A motorhomes are outside this service.
My van is not driveable. Can it be towed to you?
Yes, but speak to the shop before you arrange the tow so arrival can be coordinated. Confirm the arrival time and give your transporter the shop address.
Visit Orange Coast
Your body shop
in Fountain Valley.
Orange Coast Auto Body / RV10810 Talbert Avenue
Fountain Valley, CA 92708(714) 378-4855
The shop’s main line. Call buttons on this site dial (657) 208-2345, which rings here too.
Call about your van, an existing estimate, or arranging an inspection at the Fountain Valley shop. If it is a conversion, say so on the call. You can also leave a short inquiry about the repair.